Introduction
The Boost library is a great choice when developing software with C++.
It’s stable, it’s been around for some time, it’s thoroughly tested.
Many of its features have become part of the C++ standard over the years.
All in all, it’s a very useful and mature library.
But its setup process might take a bit of figuring out if you’re new at it.
Let me help you out. Here’s how to set it up in no time, for two compilers – msvc and gcc.
Summary
- Download the latest boost version
- Install boost for msvc
- Install boost for gcc
- Include boost headers
- Link boost libraries
Download the latest boost version
You can get it from here.
At the time of this writing, the latest boost version is 1.88.

I clicked on boost_1_88_0.zip and waited for it to download.
Once the download is finished, unzip its contents in a folder you’ll remember.
I unzipped it under D:\DEVEL\_LIB.
So the final path is d:\DEVEL\_LIB\boost_1_88_0\
Here’s how it looks like:
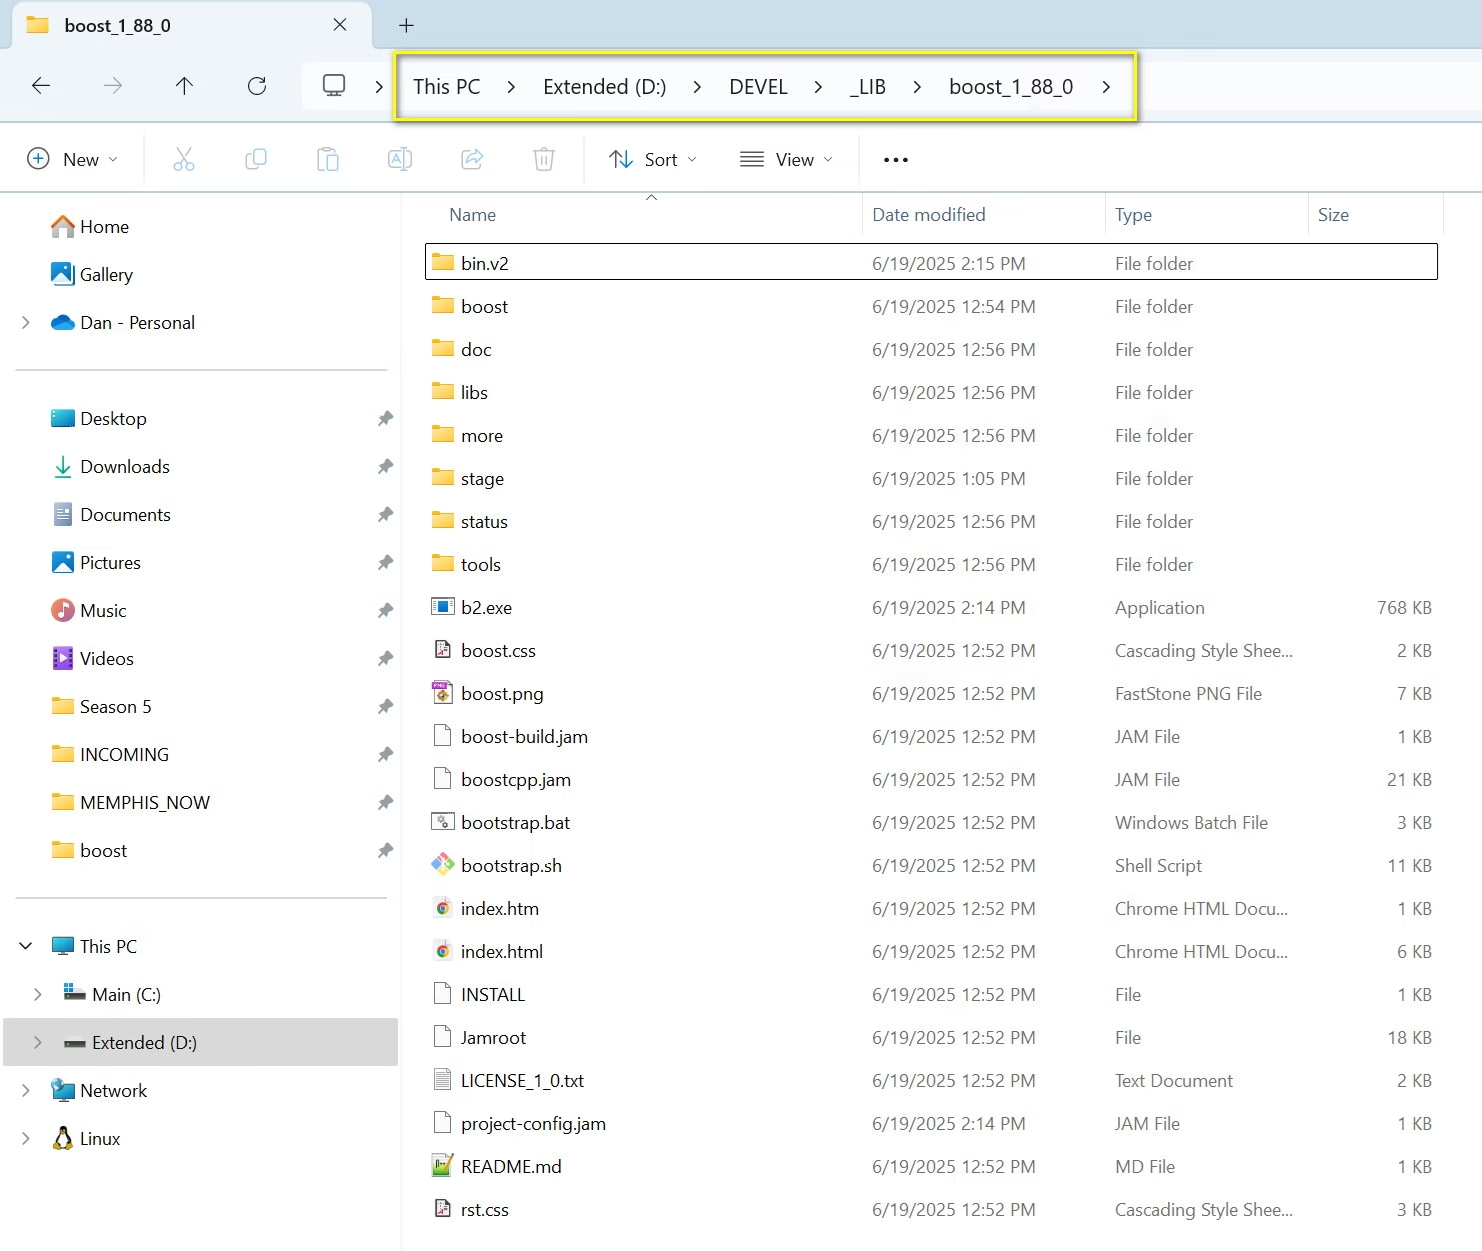
Remember this folder, you’ll need it.
Installing boost for msvc
Bootstrapping and compiling boost for Microsoft Visual Studio’s C++ compiler is straightforward.
First, open up the Developer Command Prompt VS 2022.
If you press start, then type cmd, it shows up in the list, if you have Microsoft Visual Studio installed.
We open this instead of the normal command line, because it gives you access to the msvc C++ compiler.
You won’t get access to the C++ compiler from the regular CMD line.
Now from the vs developer command prompt, change the folder to the one where you put the boost contents.
In my case, I had to change drives first.
Type D:, then Enter.
Type cd d:\DEVEL\_LIB\boost_1_88_0, then Enter.
The order doesn’t matter, as you can see (you can change the drive first).
Then, type bootstrap.bat msvc and Enter.
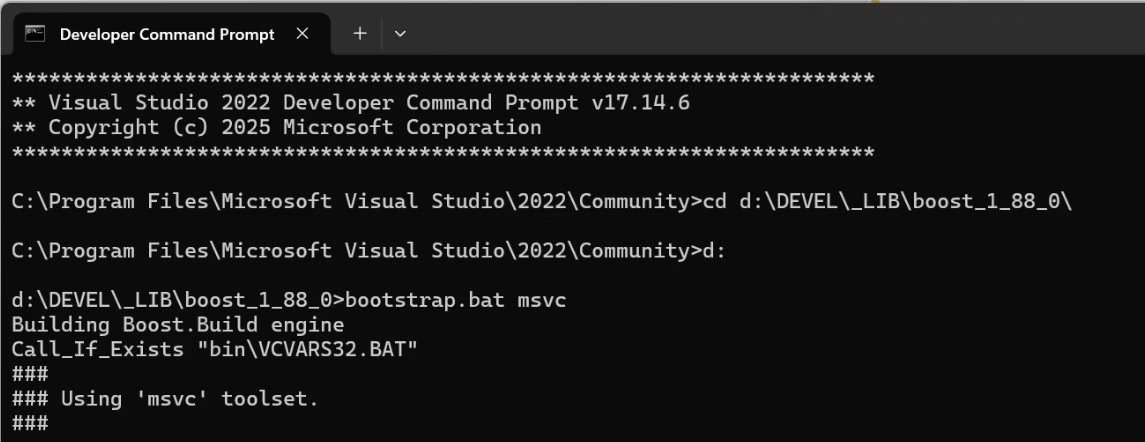
This will start the configuration using Microsoft’s compiler, msvc.
Then run this command to compile the boost libraries system and filesystem
b2 –toolset=msvc–with-system –with-filesystem
Boost has a lot of libraries and most certainly you won’t need all of them.
Pick the ones you need and modify the previous command to include only the boost libraries that you’ll use.
Some of the boost components can be used right away, without compiling.
Installing boost for mingw/gcc
You might want to use a different compiler, other than msvc.
One good option is the MinGW suite which includes the gcc compiler.
Mine came selected when I installed Qt 6 on my machine.
You might get it from elsewhere, but the steps are mostly the same.
One thing to make sure of is that the gcc compiler is available under PATH.
For me, the “c:\Qt\6.9.1\mingw_64\bin\” must exist under the PATH environment variable.
Then, when I type gcc and press enter from the normal command line (or Power Shell), I get this:
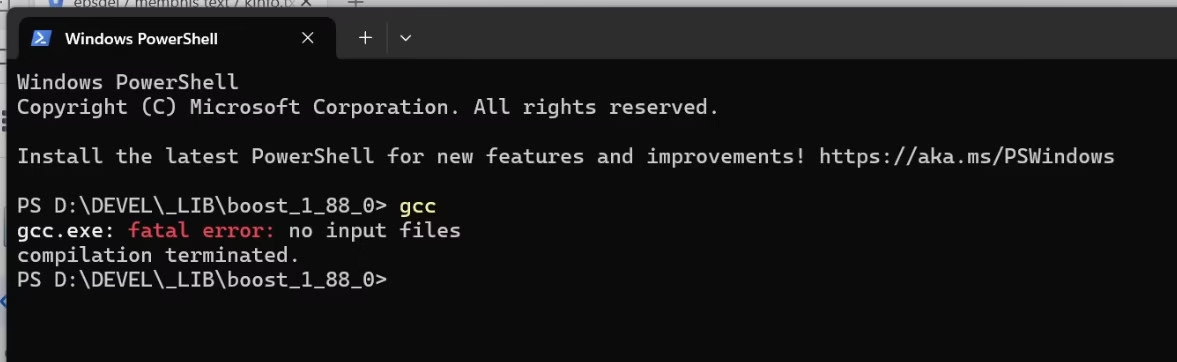
This is normal, it means gcc is available, but it hasn’t received any source input files.
With this in place, navigate to the boost folder D:\DEVEL\_LIB\boost_1_88_0 and bootstrap the process for gcc.
bootstrap.bat gcc
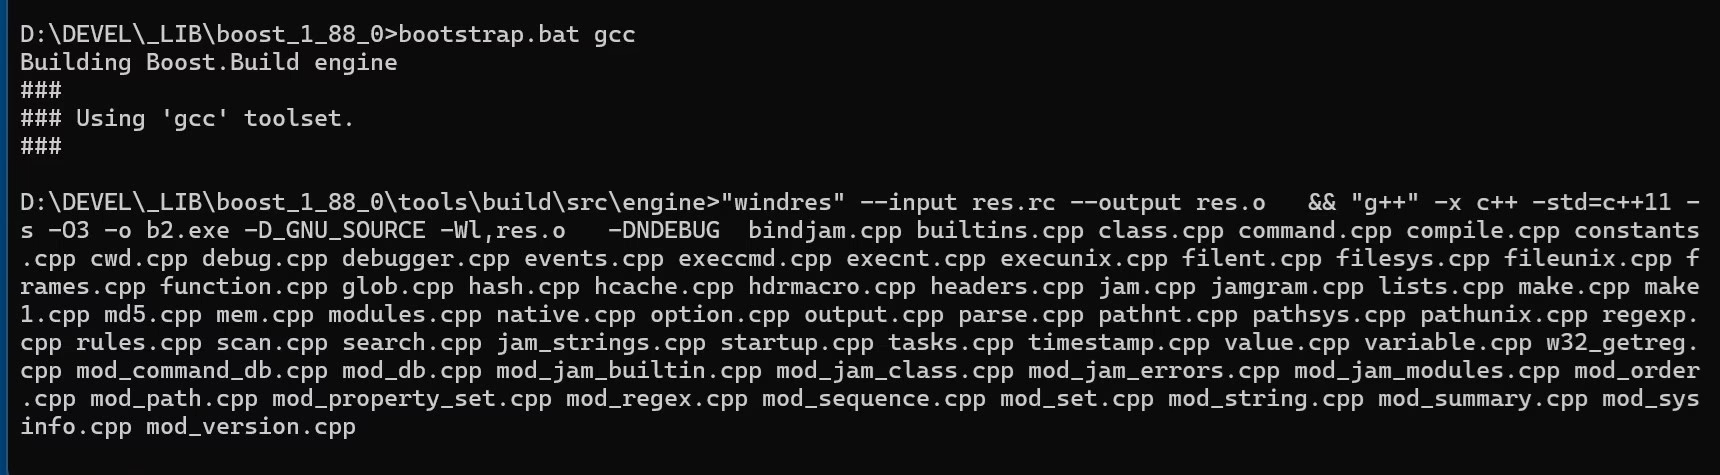
Then, similarly with msvc, build boost with only the libraries you need:
b2 –toolset=gcc –with-system –with-filesystem
Notice the toolset change, we’re using gcc instead of msvc
That’s it! Next, you may want to include the boost headers and link the required libraries.
Here’s how.
Including the boost headers in VS 2022
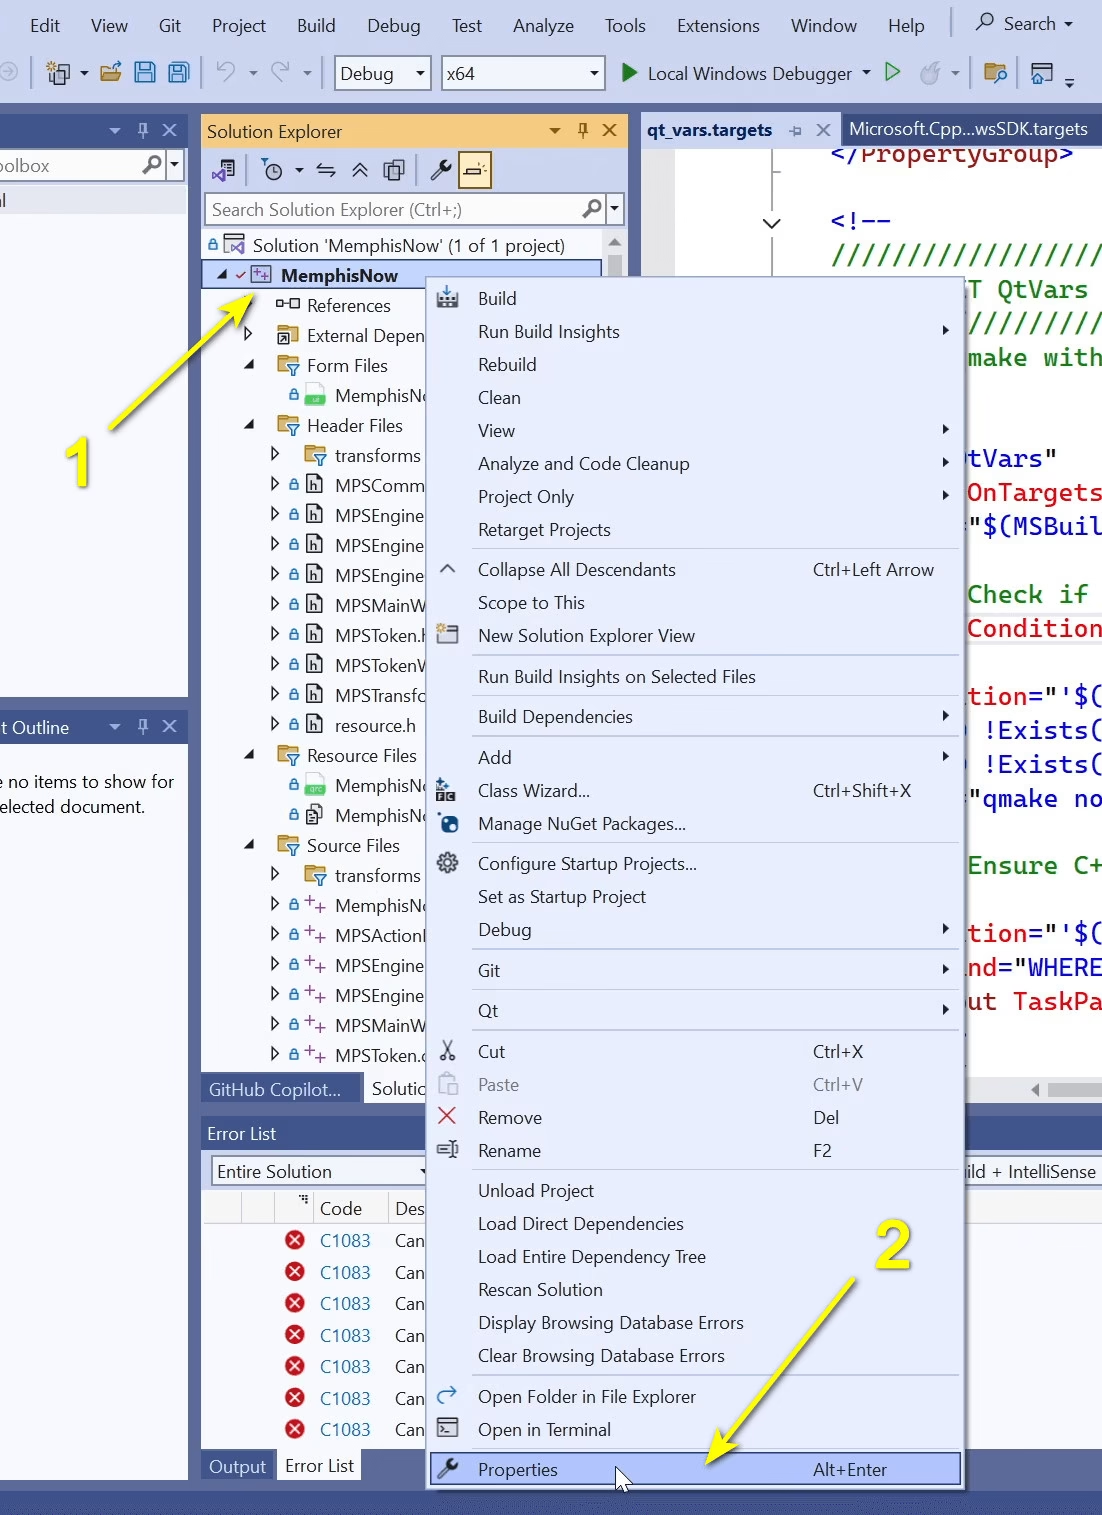
Right click on the project name, then choose Properties from the menu (last option).
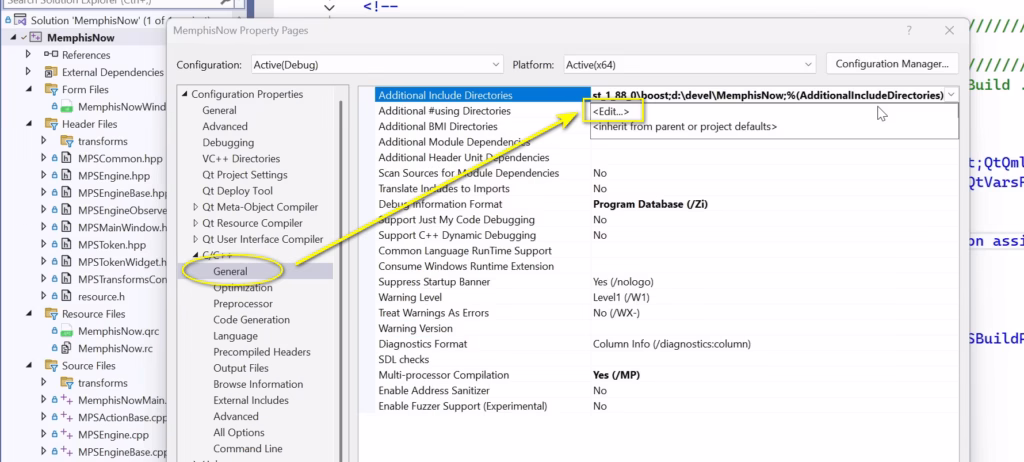
The from C/C++ General options, click Edit under Additional Include Directories. There you must add the root folder of boost.
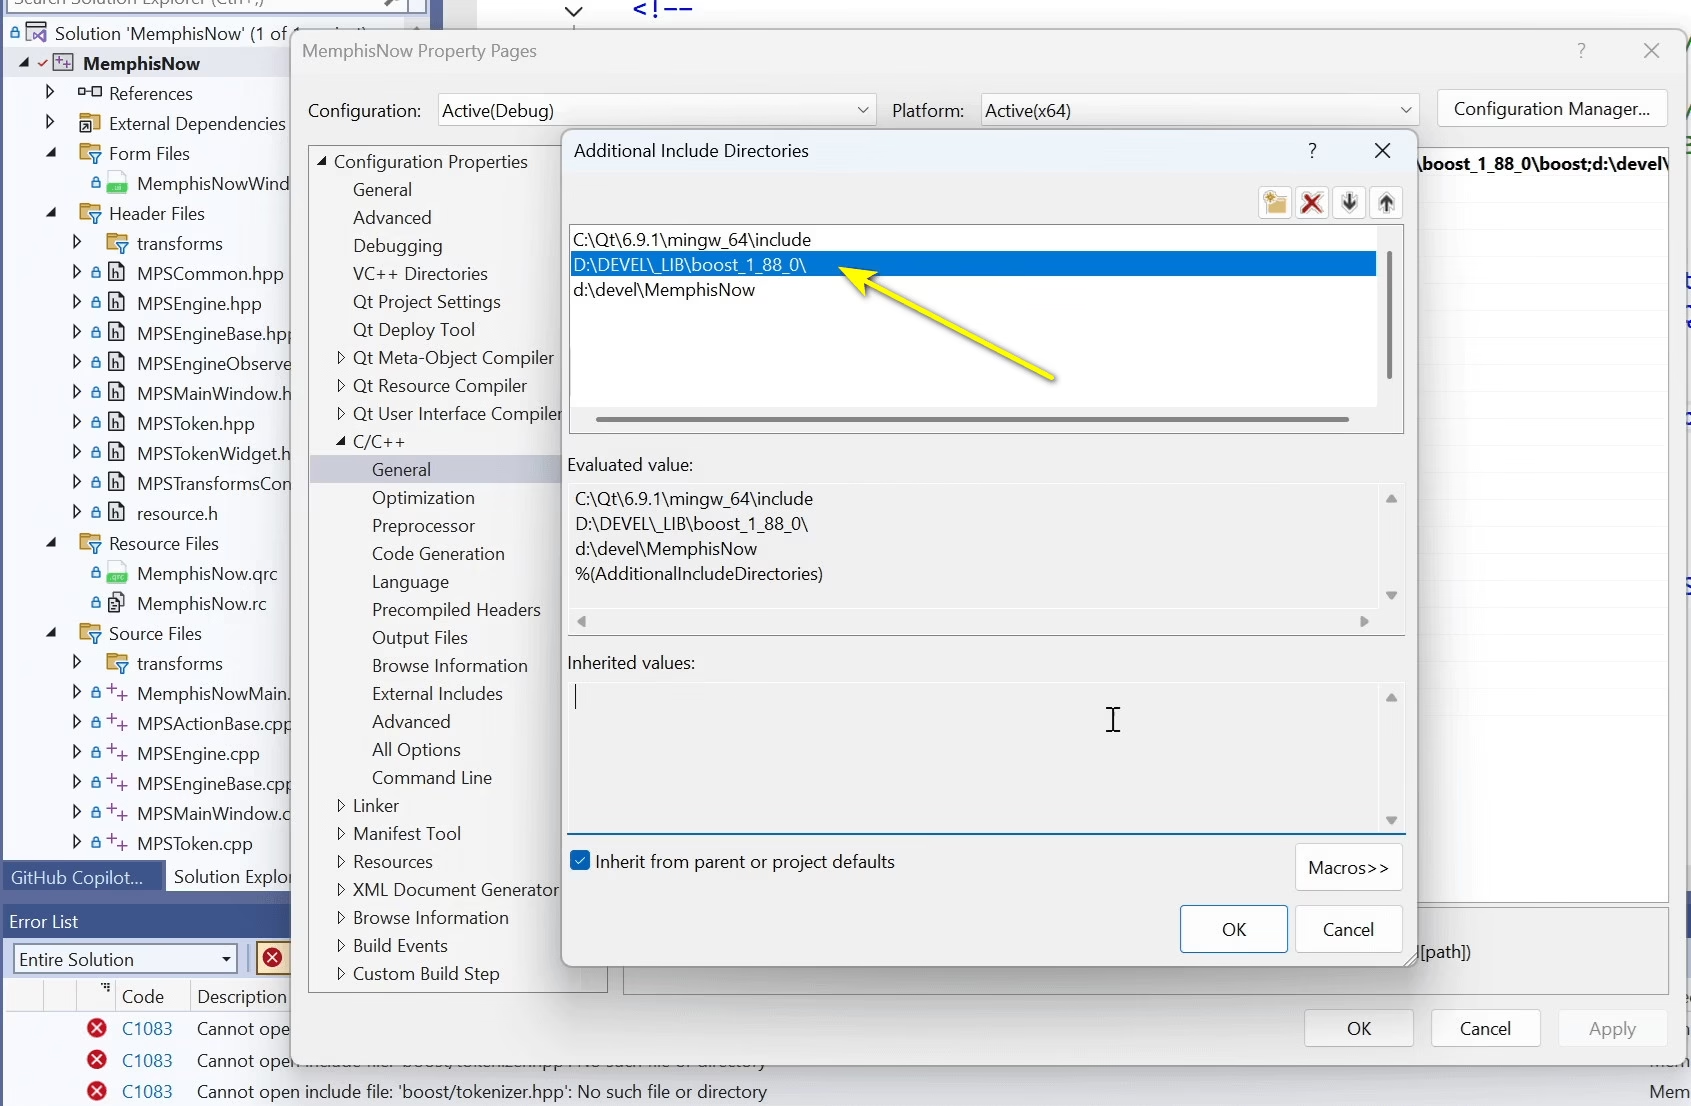
This dialog shows up, make sure to enter the root of the boost folder without any additional folders.
For me, it’s “d:\DEVEL\_LIB\boost_1_88_0”.
Now when you add a line such as #include <boost/filesystem.hpp> in your .cpp file, it should be included without a complaint from the compiler.
What’s left? Finally, you must tell the linker where to find the boost libraries you built for msvc.
Linking the boost libraries in VS 2022
Head back to project properties.
This time, go under Linker properties.

Additional Library Directories must contain the folder “D:\DEVEL\_LIB\boost_1_88_0\stage\lib”.
But remember, you must have built boost for msvc before you can link the correct libraries, or else you’ll get a linker error.
And that’s it!
If you encountered any problems, leave a comment and I’ll try to help figure it out.
